Over the long weekend I wanted to take some time to get a few quick projects done, to feel more accomplished (it helps really!)
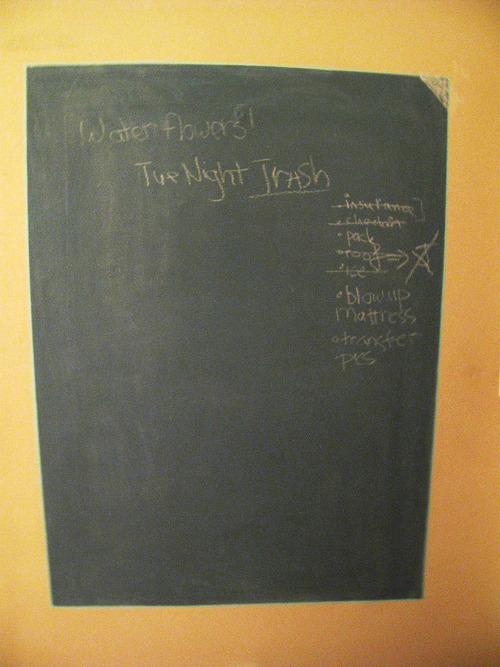
It has been hard to keep track of all the things we want and need to do, and we always end up picking up and leaving projects here and there. So I Sergey decided that we needed a to-do list that is always in place – a chalk board!
I stumbled on these directions from Martha, which was perfect because instead of spending money on chalk board paint, I could just reuse the paint from our old apartment. It was super easy to do:
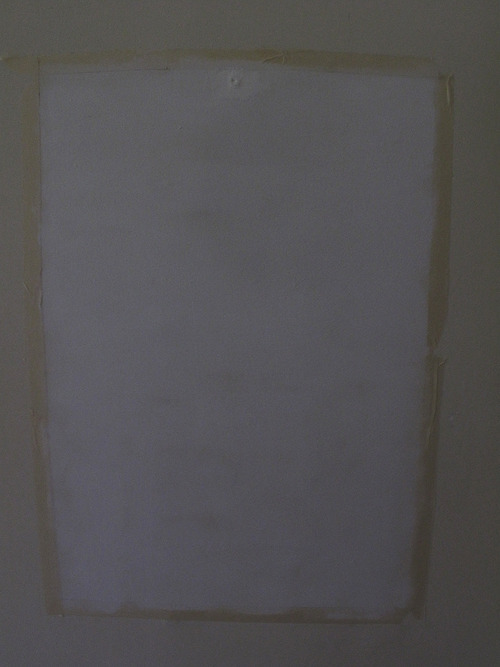

I used tape to mark off dimensions of the board (we had a giant frame that I traced with a pencil first, but its probably only a little more effort to measure it out)
I decided to prime the area first, but not sure that its really necessary if the wall is already painted.
I used 4 tbsp of non-sanded tile grout that i pre-mixed with a bit of water. I had about half a quart of paint left (2 cups) and I just mixed the grout into the can.
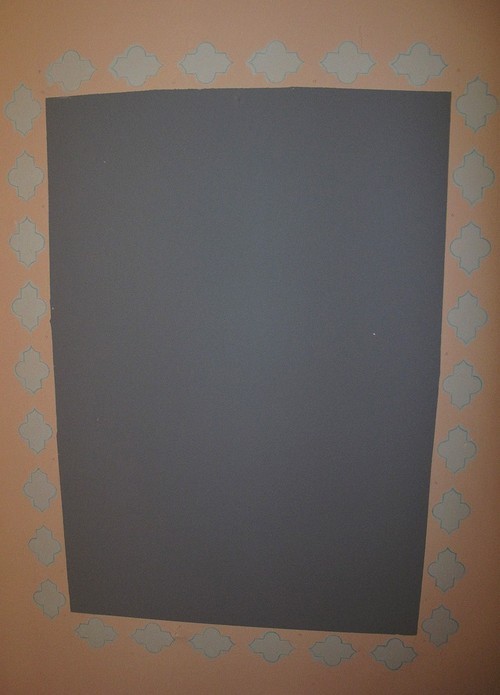
I used a roller to paint the board. At one point i thought it would look good with a stencil border – I was wrong though, my stencils looked like clouds from mario cart! Luckily i had my mixed paint left over so i just widened the board dimensions to cover the mistake. I ended up putting a thin border around the board and leaving it at that.
The just wait for it to dry (i gave it 2 days), sand (150 grit), and condition your board with a piece of chalk!
Even with my mistake this was super fast and cost almost nothing ($5 for the grout). Hooray!
The board will also be the testing grounds for possibly a chalk board fridge. depending on how much we use the black board/ how messy it gets, our fridge may look like this:

image via elle decor. (ignore the donkey).