Ah so the saga of “move kitchen cabinets 4″ down” continues. Besides the dented and scratched counter (which will need an ink & seal touch up) there was also the problem with our shelf beneath the cabinets. That too, had to move down, otherwise I couldn’t use it for any soap or oil bottles.
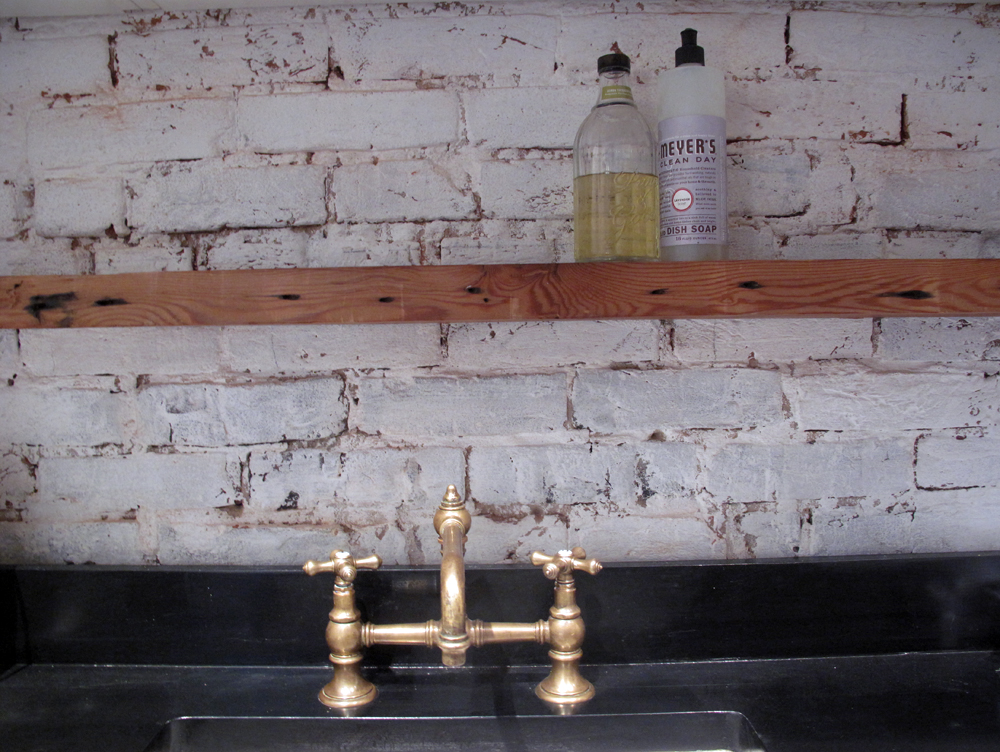
We could have asked our contractors to do that, but decided that they *might* run away if we ask them to change or re-do one more thing. So it was up to Sergey – and he did an awesome job – he said so himself too. I absolutely LOVE the way the old joists, turn shelf, look with the exposed, white washed brick. There is so much character and house soul in both the brick and the wood, and they really give a lot of context and offset the modern kitchen elements like the cabinets and appliances.

HOW TO: Install Floating Shelves into Exposed Brick Wall
1. Measure twice. Maybe three times. Use a level — that’s paramount to the success of the project. Once you are certain of the location of the shelf mark the line across the wall, and also the location of the metal rods in the wall.
2. Pre-drill the holes for the rods in the wood shelf.
3. Pre-drill the holes in the brick wall for the rods. Use the brick drill attachment, and set the drill to hammer setting. This part is key, as regular drill doesn’t do well with brick. The whole thing will be a rather messy affair as brick dust and mortar will fly and settle everywhere.


4. Time to pick up the pace! Mix cement, Place the rods in the wall. Patch cement around the rods to make sure they are solid in the all. Wait for everything to dry 24-hours.
5. Slide the shelf onto the rods and admire. You can also use liquid nails inside the wood holes, to make sure everything is super secure. We skipped this part as the shelf seems super solid. Plus we aren’t resting anything super heavy on here anyway.


*ignore all the blue painters tape – it’s marking future hardware placement.