I have attempted to photograph the finished foyer multiple times, but the pattern has proved to be a tricky bastard. this is a combination of photos that Sergey and I took, with a caveat, that I wish a professional would come and help us out here. Also, this post took an inordinately long time to be published, in part due to time crunch with the fact that I have been selected for 6 week jury duty, in part due to picture taking troubles, and in part because I am still learning to operate on my new Mac…I hope to be back here more frequently soon.

It turns out that I have a rather peculiar idea of how i like to spend my leisure time, and what I consider an awesome gift. Over my birthday weekend (approximately now 4 weeks ago) and instead of deciding to take a day trip somewhere awesome (korean spa? b&b on a farm in the middle of virginia? antique shopping perhaps? sightseeing in DC? – all of these activities I quite like) I chose to hang wallpaper. To justify that though, I knew that Sergey would be very amenable to my proposition particularly on this weekend, as opposed to say a random week in April. So I went for it.
Sourcing Wallpaper
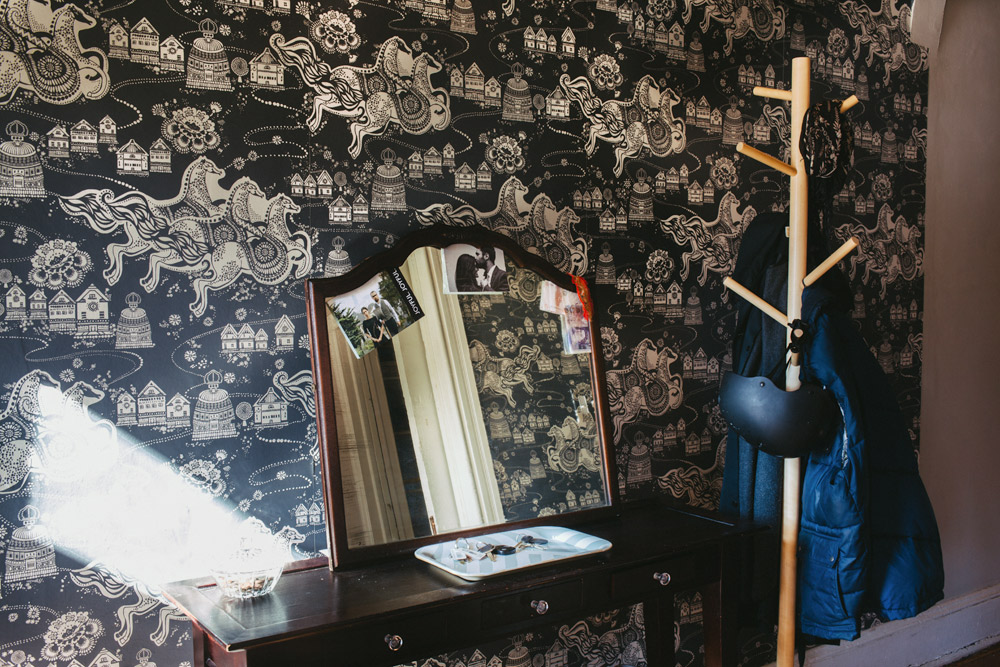
I purchased the “frosted hamlet” wallpaper from Anthropologie in the first few months after we moved in to the VIB. Anthropologie is my favorite go-to wallpaper source. The wallpaper is surestrip – supposedly meant to be an easy diy installation for renters. The manufacturers also suggest that it is easily removable, hopefully we won’t be testing this feature out for quite some time.

Overall Look
Some immediate observations – the surestrip wallpaper turned out pretty sleek, so we have a very good looking entry hallway now at the VIB. This being the first time we did wallpaper ourselves, we are totally stoked that it turned out so well.
We were very lucky with how the spacing of the print on the walls, particularly over the archway – because we did not plan that. Note to self, and others planning on wallpapering with patterns — make sure to center the pattern on the focal point of the wall – like our archway, and don’t count on being lucky like it turned out here!
Time and Labor
Wallpapering our hallway took a lot longer than I at first anticipated – several days in fact of after work commitment. Not that this is surprising since I continually underestimate the time it takes to complete a project. On the positive side of things, wallpapering was also not as difficult as I was afraid it would be (but it was not exactly throw-it-up-and-forget-it type of deal.)

This was definitely a two-person job that we split into three days, working 3-5 hours each time. We would have paid $350 to have someone else do it. I don’t know that the trade off is worth it (money vs time) — but given that the finished result turned out so well, I am glad that we tried it and now know what is involved.

Wallpaper Process
We started off by watching this video series on how to hang wallpaper, which was extremely helpful and we basically followed the steps as suggested there.

Matching Patterns
Width – We measured the width of the uninterrupted wall space on the staircase side of the hallway. It turned out to be 138″ across, which was perfect for five panels of wallpaper (the wallpaper panel measured 27″, so we needed 135″ or five panels to cover all of the hallway on one side).
Length – Then we measured the length of the wall to baseboard, which was 109″, so we cut each panel just slightly longer at 112″.
Alignment – Before cutting we lined up each of the five panels on the floor so that the pattern would match, which meant that we were left with remnant pieces on each panel, with the exception of the first panel that we had cut. That was ok because we used those above the doorways.
After completing the one uninterrupted wall, we carried pattern matching over the archway and then over to the other side of the wall, which has a very large opening for pocket doors to the living room.


***we were able to match patterns form our left over remnants — not sure if we just got lucky, or if that is how it typically works out.
Application Steps
1) Measure wall space to see how much needs to be cut, add a few inches to account for any discrepancies in wall length.
2) Line up panels so that pattern matches, cut.

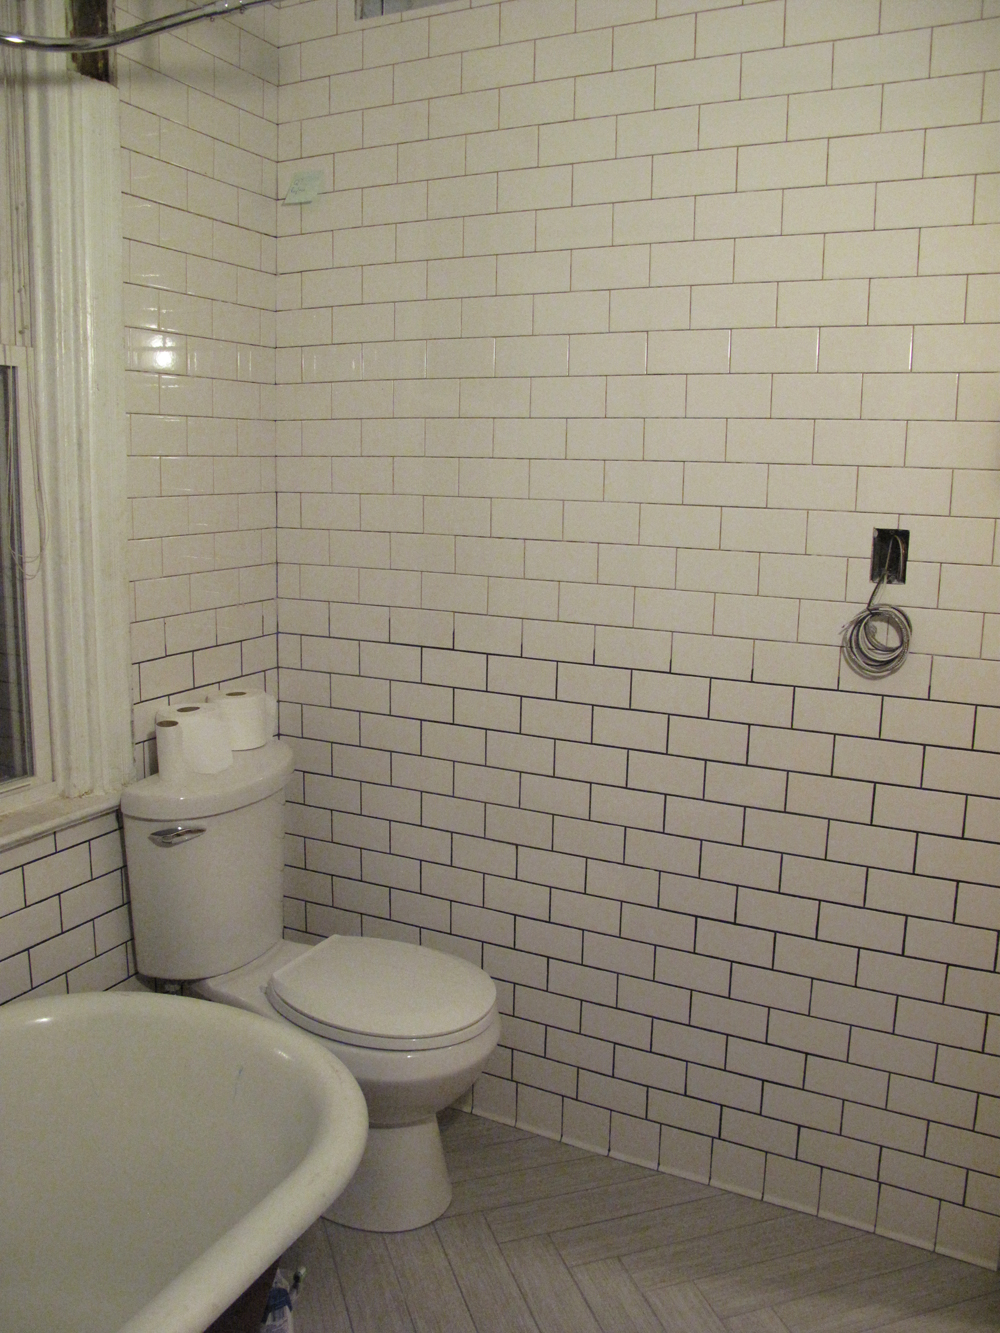
3) Surestrip requires wallpaper to be submerged in water — we used our bathtub. Wait a few minutes after taking wallpaper out of the tub to allow the glue to activate properly.

4) Apply to the wall making sure that pattern matches at the seams — we had one person line up the paper on the top , while the other person was holding up the bottom of the wallpaper in order to prevent it from sticking to the wall before patterns were aligned.
5) Smooth out with an edger and a sponge, making sure that the edges are sticking to the wall — this required some extra effort at times, but in the end worked out.

6) Repeat.

7) We used a b0x cutter knife to cut off bottom and top pieces that were extra as well as to make cuts for the archway and for the switch plate (make sure electricity is off when doing that panel – obvious, but still).
That’s it – with great success!

**because our wall space does not actually end where we decided to stop the wallpaper, we will instal slim wood panels to make them look like columns under the archway. that way the edge of the wallpaper won’t peel and overall the space would look more finished. but that’s a job for maybe the next weekend.