Our first official before and after. Finally, something finished and ready for the unveiling! That’s a great feeling :) When I look at these pictures that Sergey took, and especially when I compare to the before, I can’t quite believe we did this. One of the downsides of living through a renovation – particularly one that takes months – is that there is no official “reveal,” no quick door over. Its not like those HGTV shows when the homeowners get to leave and come back to a completely new space. The transformation happens gradually, and you kind of get used to how the space looks before its fully done. But THESE PICTURES make up for that a bit. You can really, really tell the difference.
BEFORE
Just as was the case with the kitchen, we did minor cosmetic improvements in the bathroom immediately after moving into the house back in March 2010. However, we elected not to spend too much time and money on larger cosmetic changes as the tile, and the layout of the space, had to be changed in a gut renovation. So we saved our monies and out time until April 2012 phase II renovation.
This was the bathroom we used for two years:


DURING
The decision to gut renovate the room was kind of spur of the moment. We hadn’t planned to take on the upstairs bathroom until after the kitchen and powder room remodel. However, once we opened up kitchen ceiling and realized that plumbing lines would need to be redone and that the joists holding up second floor of the house should be buttressed, it kind of become “no time like the present” challenge.
In the end, we are happy that we did this all in one go, but let me just say — we lived for over two months with no functioning sinks or shower in this house. We brushed our teeth out the window, showered at the pool, work gym, or our neighbor’s house (Thank you!) Thankfully, we did have a flushing toilet, so at least it wasn’t a total disaster. Also, as with everything else at VIB, we are so thankful for help from family and friends who’ve pitched in to make this room beautiful.


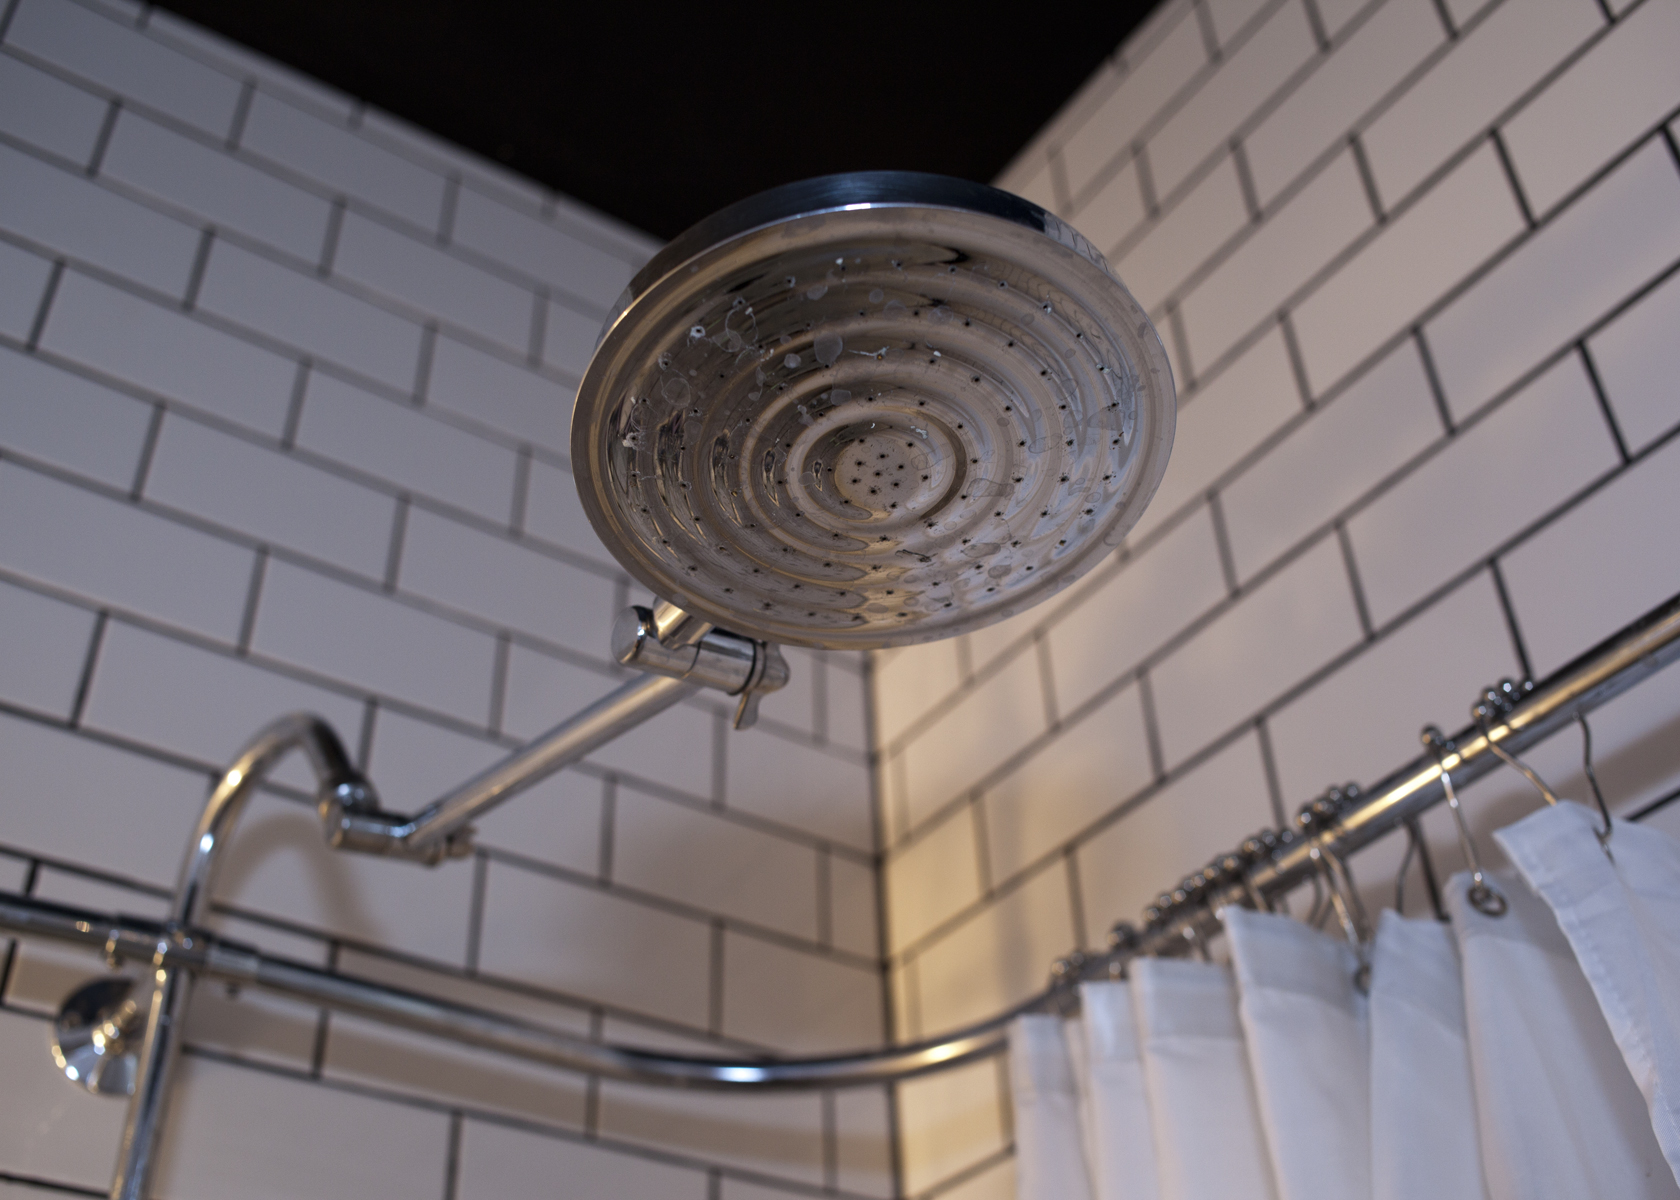
AFTER
This room is my personal zen. I spend hours in here taking baths. The claw foot tub was absolutely the best and right decision. We purchased the tub off of craigslist, from a row house over in Mount Pleasant neighborhood and we totally lucked out because it came with a shower system. Those things are so expensive (like thousands), which we didn’t know before. The sink base was also sourced on craigslist, because that part is also super expensive and again we totally lucked out.
The biggest indulgence in this room were the subway tile, which cover all four walls floor to ceiling — we made the decision to continue all the way up halfway through the project and LOVE how it turned out. So glad we did this. Also, so glad our contractors were able to do a good job at this, because if the lines weren’t stright – particularly with black grout – this could have been disasters.
The other part that I love are the glass shelves tucked off from the sink. There is enough space to store all of the necessities, albeit nothing can be messy. My one regret is not doing some closed storage – it was an oversight. We are fine with it and found good solutions, but when we do the master bath, that will have to be re mediated.
It doesn’t even look like the same room anymore, right?


Source List:
- Heated floor mats: Thermasoft
- Tiles: Casalgrande Padana in Argento from buytile.com – floor, Home Depot white subway & cove tiles – walls.
- Paint: Benjamin Moore Aura Bath midnight dream – ceiling; Benjamin Moore Advance cloud white – moldings and door.
- Toilet: Jacuzzi Perfecta from Lowes
- Faucet/ Sink/ Console sink base/ Marble: Pottery Barn, Kohler, Le Bijou (purchased on craigslist), Marmara Corporation
- Mirror/ Lights: Pottery Barn
- Robe hooks / Toilet paper holder: Moen
- Clawfoot: vintage (1915) , purchased on craigslist
- Shower system: Signature Hardware (came with clawfoot purchase)
- Doors/ Hinges/ Lock set & handle: Community Forklift for the first two, Loading Dock
Our total spent is around $10,000, just under $3,000 for materials listed above and the rest on labor and parts (such as drywall, light switches, etc)