This past weekend was all about house time for us, in large part because we have plans for every single weekend in October save for one. Life – it gets in a way of house stuff (or is it the other way around?) The big accomplishment was leveling out and putting the finishing touches on our reclaimed wood island counter.
Over the two prior weekends we had selected, prepped and put together the reclaimed wood for our island counter top. After using liquid nails to put the boards together, we clamped everything together and let it dry out for about a week. (Read more about how we put it together in part I).
HOW TO: Reclaimed Wood Counter, Part II
Level the Top Surface: Old joists, and likely any old boards, are unlikely to be perfectly even. Although we took care to align, plane, and re-align the surface before securing the boards together with liquid nails, it was still less than perfectly even. The good news about using thick joists is that we could really sand down the top surface a noteable amount without fear.
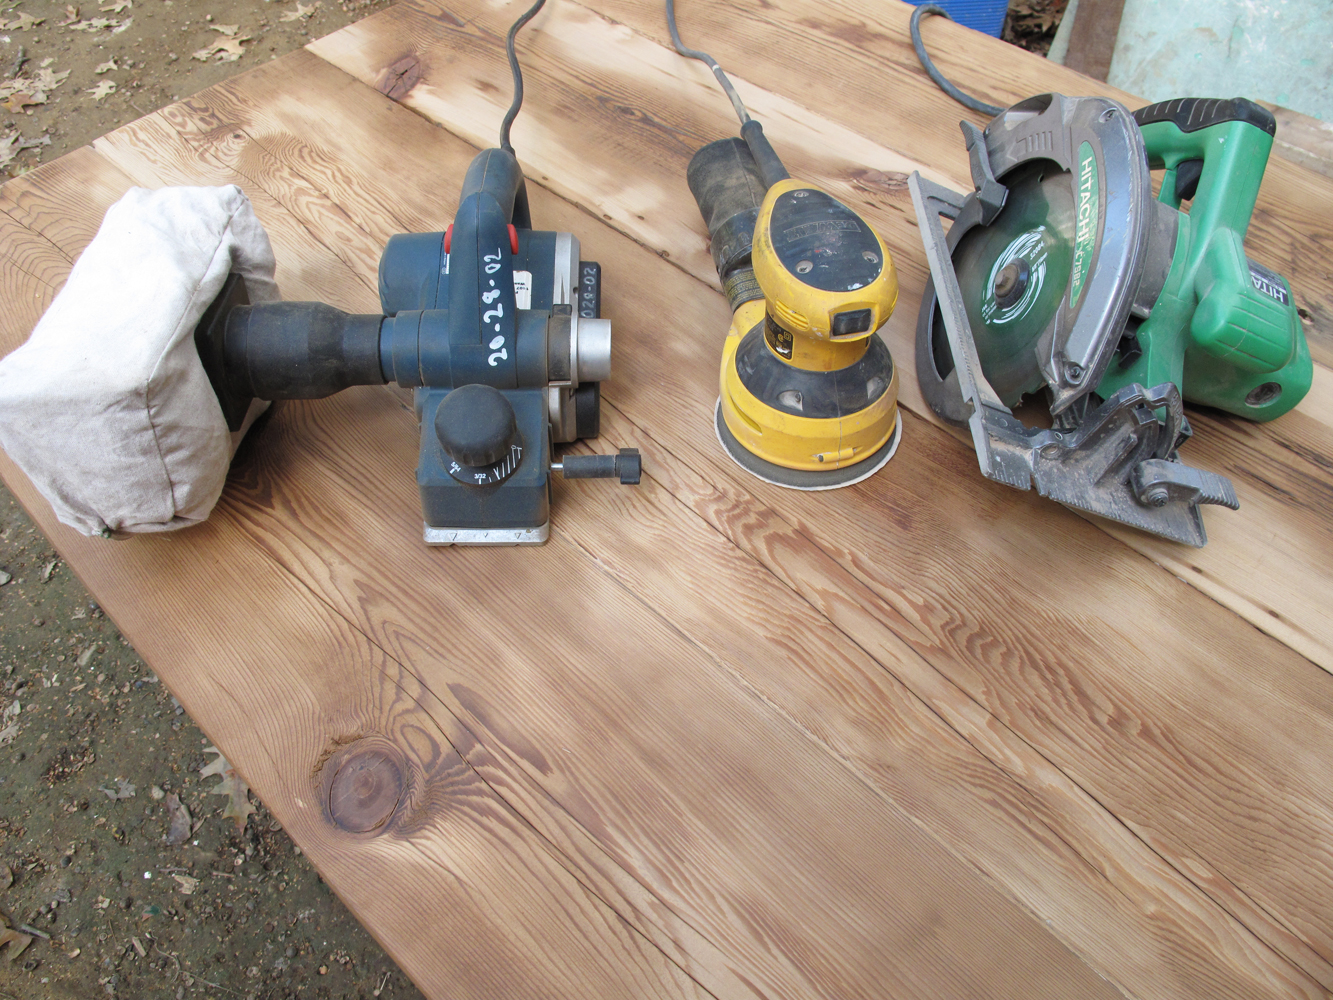
So this past Saturday we rented a hand planer from Fragers Hardware to smooth out the less-than-perfectly-leveled parts of the island top piece.


We couldn’t use the automatic planer machine we used to plane individual boards, since they wouldn’t have fit. The hand planer worked well, but we realized in hindsight that we could have just used our electric orbital sander with a 60-grit disk to the same degree of success. But ah, you live and you learn. Sergey also used a circular saw to level uneven edges on the side.

Fill-in Crevices: After the countertop surface was good and level, it was time for the wood filler. I had wanted to keep the cracks between the wood unfilled originally, but I am not sure how that would work with bits of food that will enviable end up on the table. So Sergey convinced me that that would be a bad idea. I used wood filler that we had on hand, which was quite light in color, resulting in noticeable lines.


I think this might be a bit too light. We used mineral oil on a small part to see how it would look – the glue did get darker. But i am thinking i might still get another tube with a dark, maybe almost black filler? I would appreciate any thoughts and insights anyone might have on the subject…

Secure to Base: Now we wait for our contractors to install the island base for the counter. Attaching it should be fairly straight forward, just like with regular butcher block, by using L brackets. The underside of the counter is not completely level and straight, so we will be using wooden shimmmies to get everything to line up.
Read the Reclaimed Wood Counter Part I, and Say tuned for Reclaimed Wood Counter Part III.