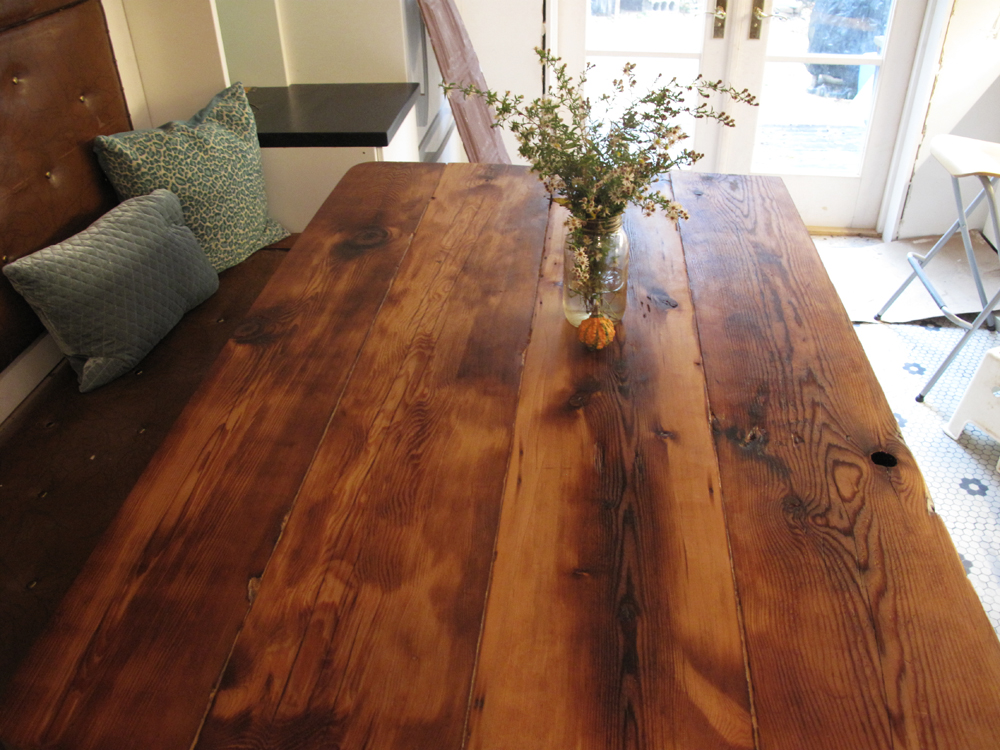
When we took the house apart, our friends had suggested that we keep the old wood joists for all sorts of salvage projects. Such as a table.Or a kitchen island top. Brilliant, thank you friends! Reclaimed wood has become rather fashionable as of late, which gives me a bit of a pause in using it on such a focal piece in the kitchen. Reclaimed wood is definitely a trend, and maybe even a fad, that won’t stay. But — since the joists have so much history connected with this house in particular, and they are free, and in the end we can switch the top out if we decide to, it was worth a try. As of this moment, we are quite happy with our decision to use the joists on this project.

HOW TO: Make Reclaimed Wood Counter Top
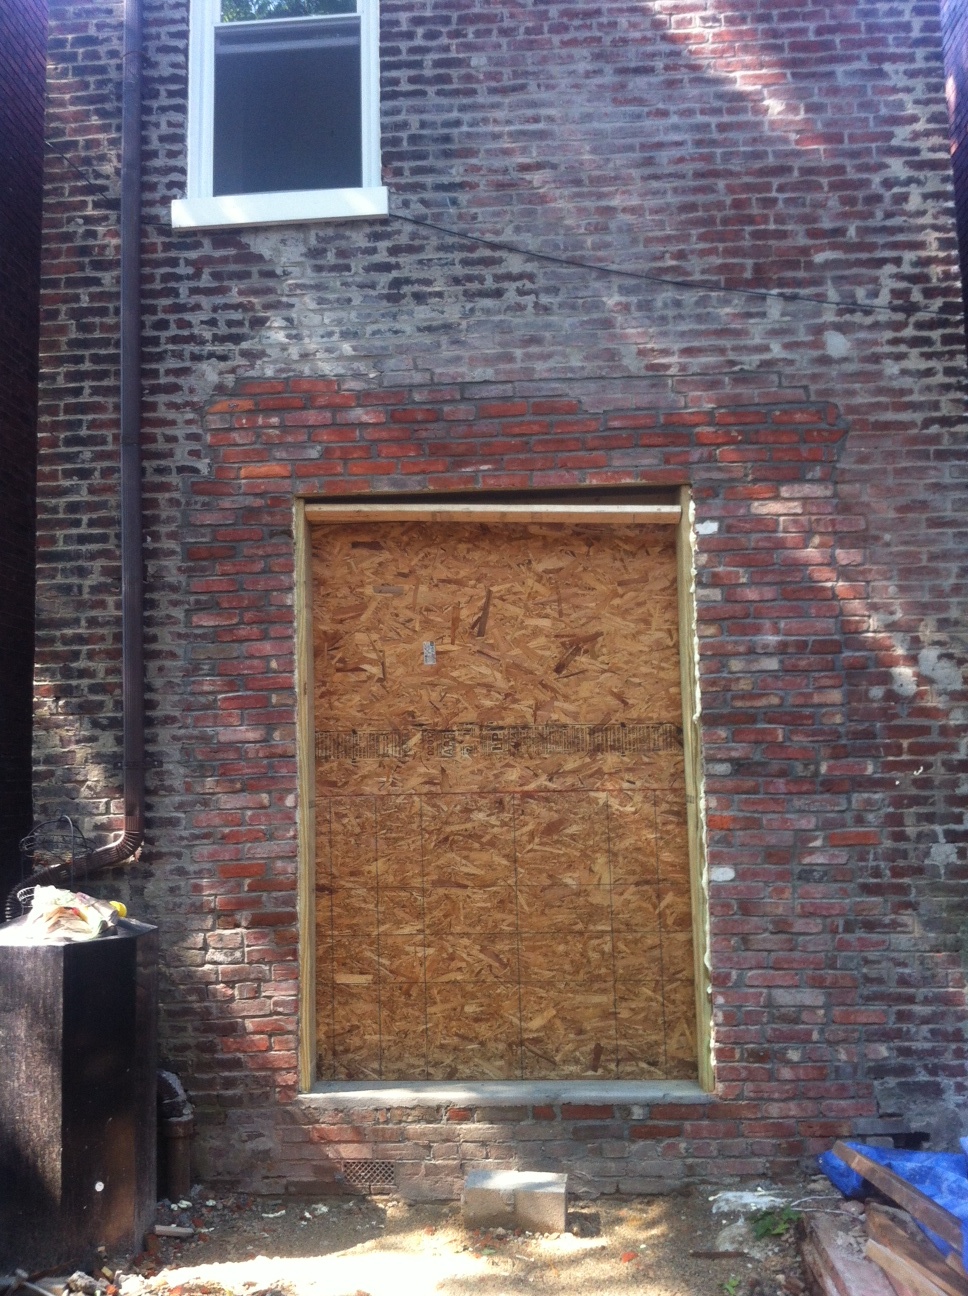
Source and Select the Boards: We were quite lucky to have access to our original joists which used to hold up the house. Since there was some rot damage, structurally they had to go. Salvage yards and stores also have boards like these in stock from time to time. We worked on the selection process a bit too, aligning the boards to see if they were straight.
Cut: Sergey used a circular saw to cut the boards to our desired length (before he hurt his hand). That took less than 10 minutes.
Align and Clamp: We did a dry run of aligning the boards, using a level to see if they are more or less straight. Clamps are very useful for this part. Don’t worry about getting the boards perfectly straight, as planer can help adjust small imperfections.


Plane and Sand: The following weekend we borrowed our friends’ planer to clean up the wood. Never used a planer before, and really amazed at how much quicker the process is than with a sander. Look at what this amazing little machine can do:


And here’s a video in case you would like to witness the wonders of a planer:
We had to use a sander on the edges (60-grit disk) because the joists are too wide to fit sideways through the planer. The sander took a bit longer but worked well enough for our purposes of clean up and getting edges prepped for wood glue.

Align Again: this is where alignment comes more into play. Because our boards are old joists they weren’t perfectly straight to begin with, with wavy edges here and there and a bit of varying thickness. The most difficult part is to get the alignment of the boards right so that the height differences on the surface aren’t too drastic. It is helpful though that only the top part should align closely, while the underside can be leveled out later with shims. We shuffled the boards around a bit to find the best fit.
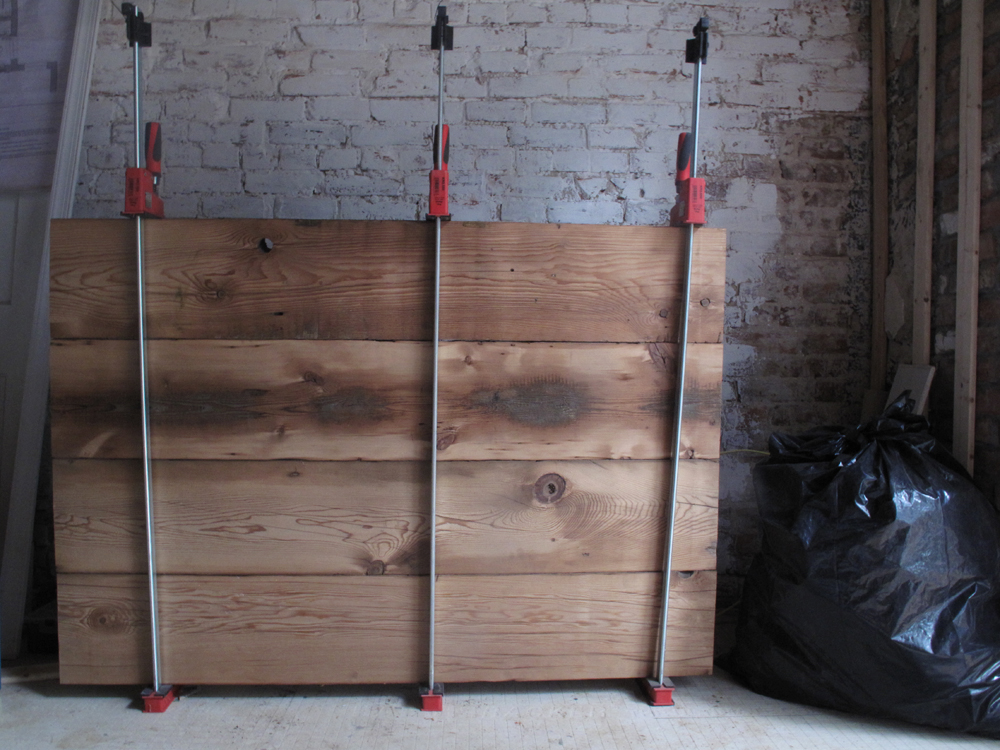
Glue and Clamp: And finally the glue part! We used liquid nails in a gun. The glue give you about 10-15 minutes to work with before it begins to set. A bit of anxiety inducing process, but it all worked out in the end.


*that was way too much glue by the way, but it wipes off easily.
Get the clamps on, and wait. After a few days in the clams and the counter should be rock solid. Then we can even out the surface with a sander and oil or stain the top. Haven’t decided quite yet on the finish.

Stay tuned for How to: Reclaimed Wood Counter Part II and Part III.