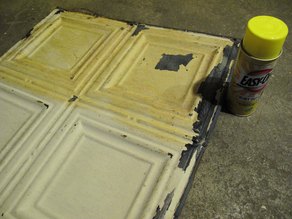
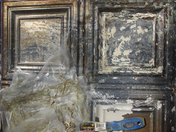
While we wait for the kitchen work to get underway, I have been working on cleaning up salvaged tin ceiling panels that we got at the brass knob warehouse before they closed shop last year (check out the stacks of ceiling tiles they used to have).
we have seen a number of houses in our neighborhood with the original tin ceilings still in place; they look pretty similar to these. i posted a few posts with inspiration images for tin ceilings awhile ago too.
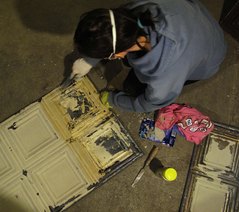
on some of these paint just flakes off, while others require a little elbow grease. these are 2 by 4, and on average each one takes me around 40 minutes or so. sure its time, but its not as horrible as removing layers of paint from wood.
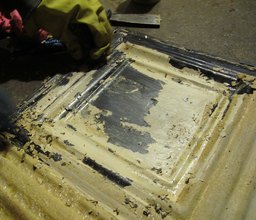
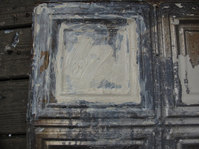
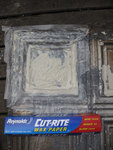
i tried a couple of different methods, including two different paint strippers, and even an oven cleaner! the first stripper, actually resulted in a terrible gooey mess that stuck to the tiles and did nothing for paint removal. annnd, i was so discouraged i didn’t take any pictures of that first test run. But here’s the one with an over cleaner, which was a method i found via googling.
At first it looked promising, but after the easier scrapes were done, it all got sticky and gooey and really, really hard to get off
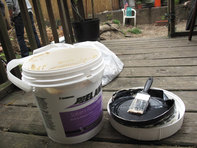
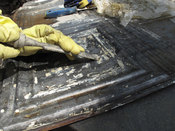
initial results were totally not worth it. so i nixed the oven cleaner, but decided to try Peel Away stripper which I have had the most success with.
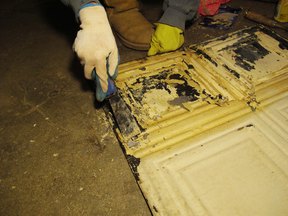
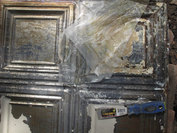
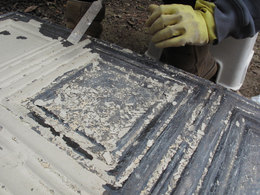
the peelaway worked much better than the other stripper or the oven cleaner. But after the initial layers were mostly gone (and quickly!) lots of small and sticky bits that remained were hard to clean off well:
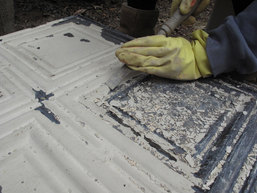
the best method i have found is to bang the tiles with the but edge of paint scrappers and lot of the paint comes off in chunks, and then to scrape off the remainders. it hasn’t been too bad.
and i plant to repaint these either before they go up or once already fixed in place.By the way, TOH has a nice primer on tin ceilings that includes installation basics and several sources to buy new.
but still have to order the cornice to go on the sides where the ceiling and the walls meet. The part i don’t have quite figured out yet is what to do in parts where the ceiling meets kitchen cabinets, since ours will go all the way up on one side. In the pictures below the cornice is applied to the vent hood cover:
source: real estate pictures for a house in washington d.c.
That looks all neat. On the other hand its quite obvious that the ceilings were done with the kitchen. Whereas if there was no cornice above the vent hood it would look more like it could have been there originally. see what i mean?


