February is a short month
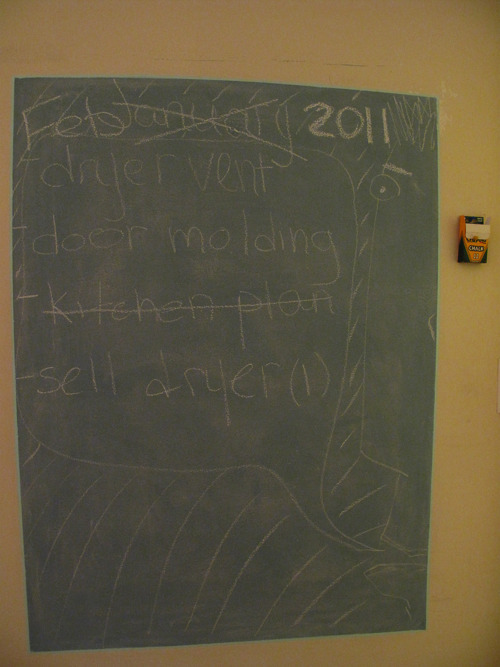
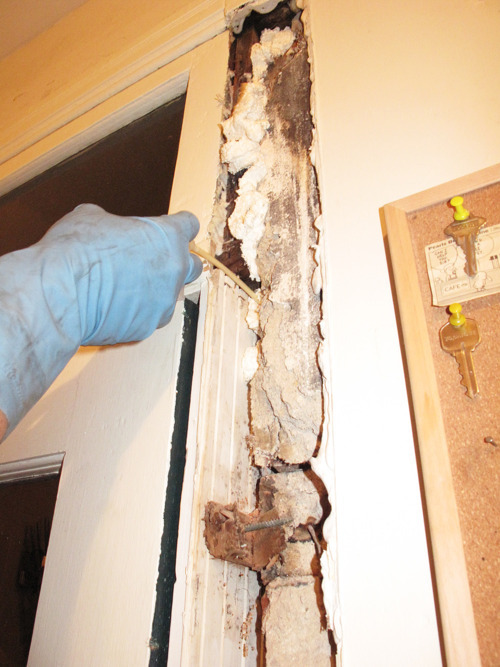
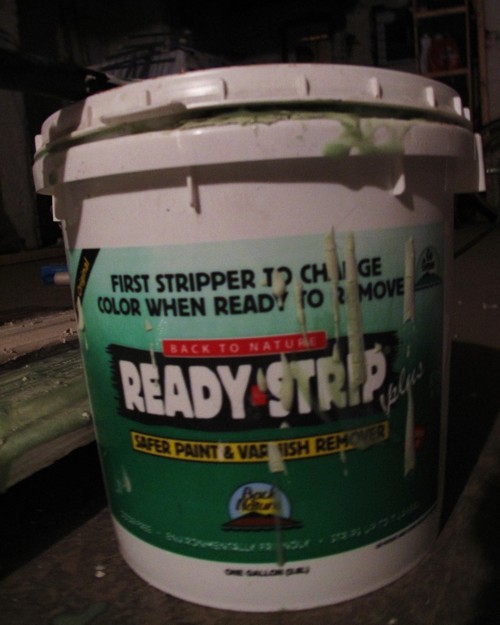
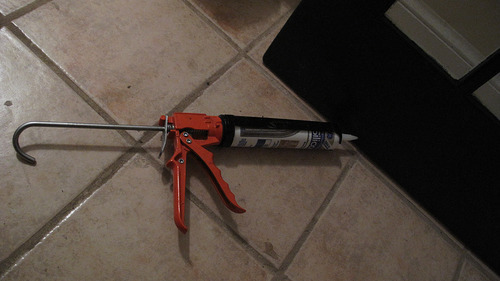
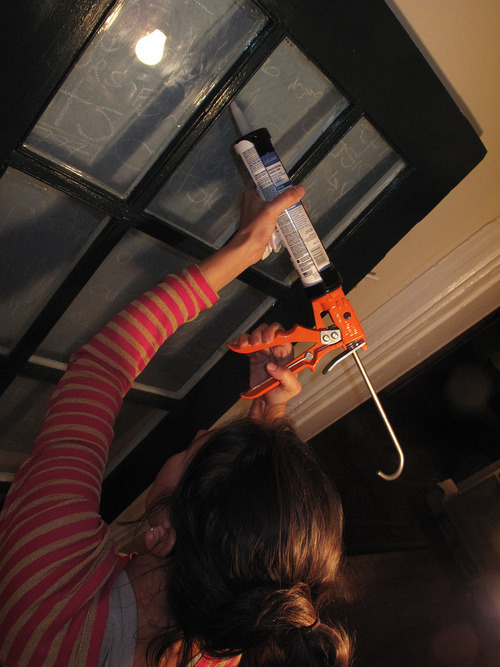
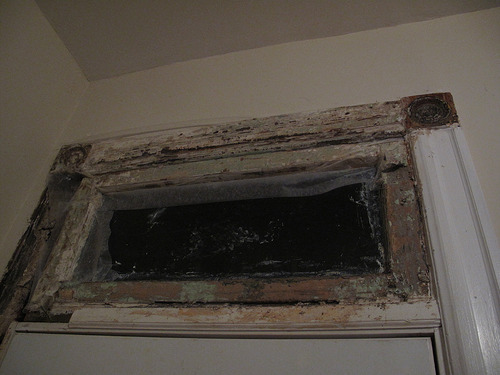
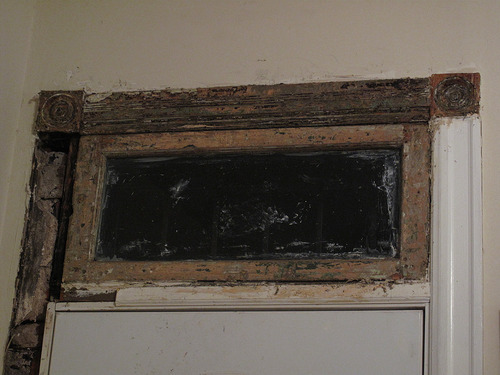
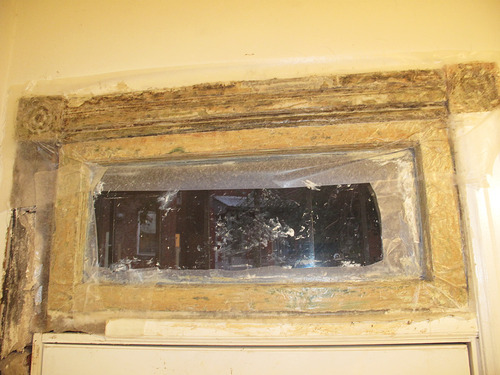
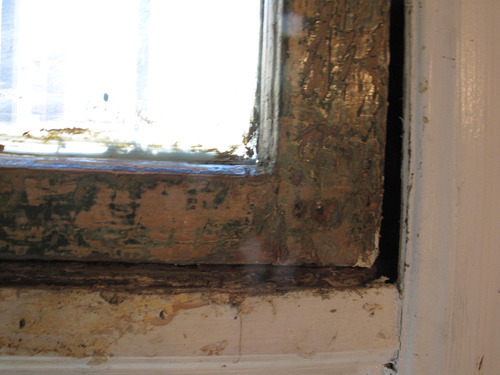
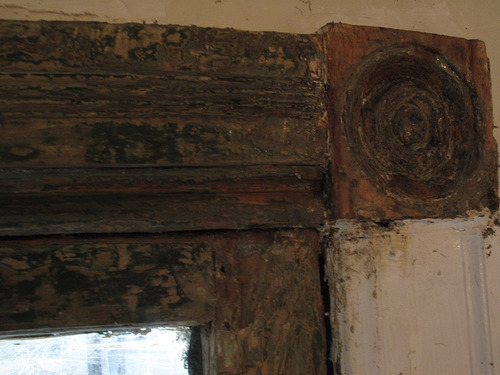
hey, we should get at least some credit for even keeping up with the board. And even though most of the stuff isn’t completed we are making some progress on the VIB agenda. Like the patio door molding. I have actually spent some time on that last weekend, stripping paint from bottom pieces of the frame. I am going to call it right now – we actually finish in March.… Read the rest
 sort of wild that in certain spots you could see straight to the outside. the mortar just sort of crumbled out. sergey now thinks we should take down all of drywall in the kitchen and start everything from scratch to make sure we are good on all 6 sides (4 walls, floor and ceiling).…
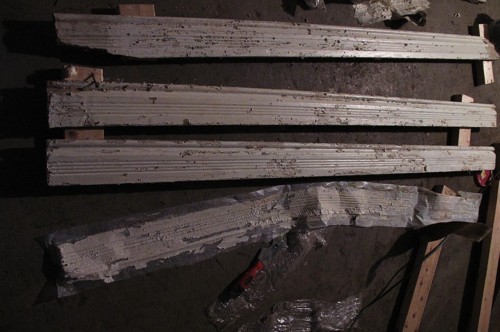
 …
…